This article explains how you can log in to OysterVPN using the RAS dialer in Windows Vista, 7, 8, 8.1, 10, 11.
How to Connect to OysterVPN through the RAS Phonebook on Windows Vista, 7, 8, 10, 11
- Download the RAS VPN Dialer for OysterVPN. Remember to save the file in an easily accessible location like the desktop.
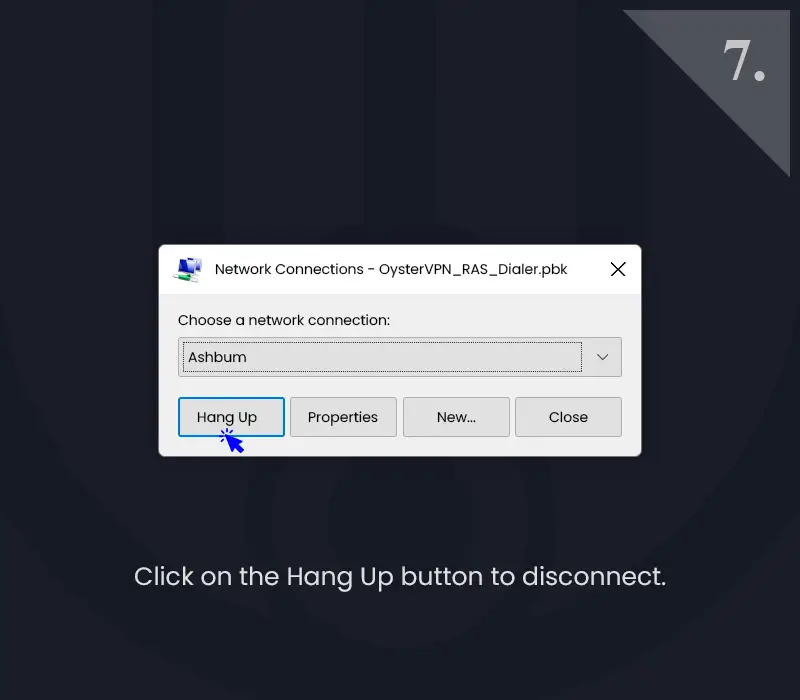
- Double-click on the RAS Phonebook icon.
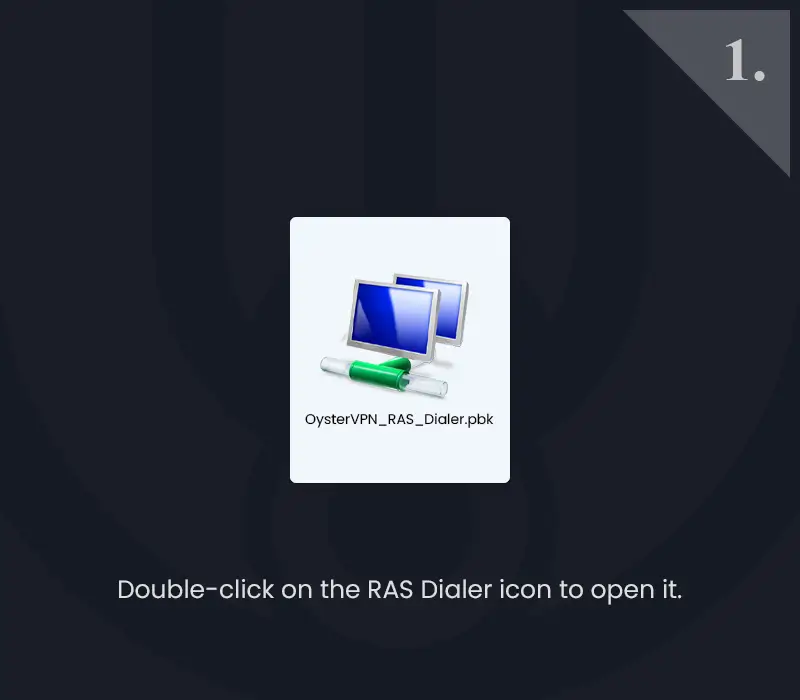
- A prompt/window will open. Click on the drop-down arrow to reveal the server list.
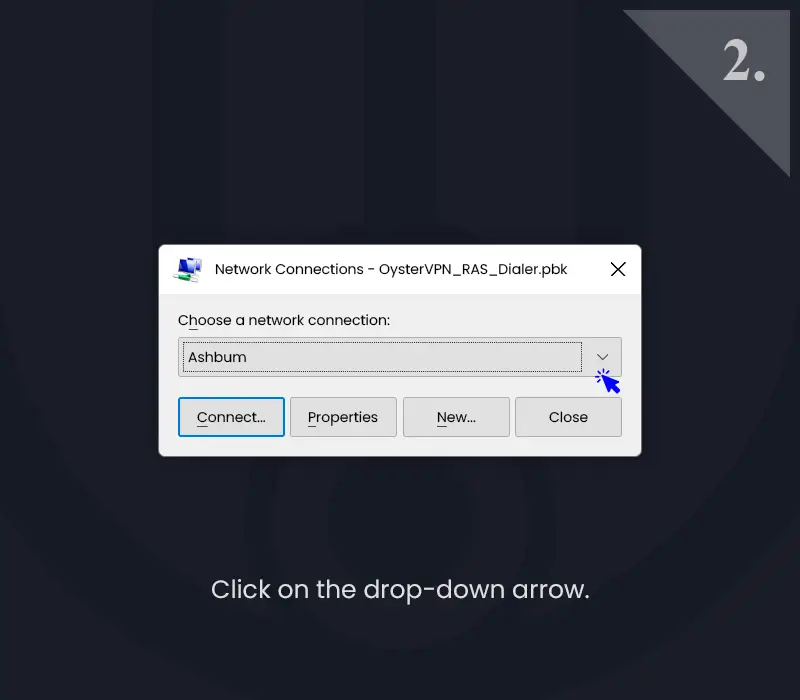
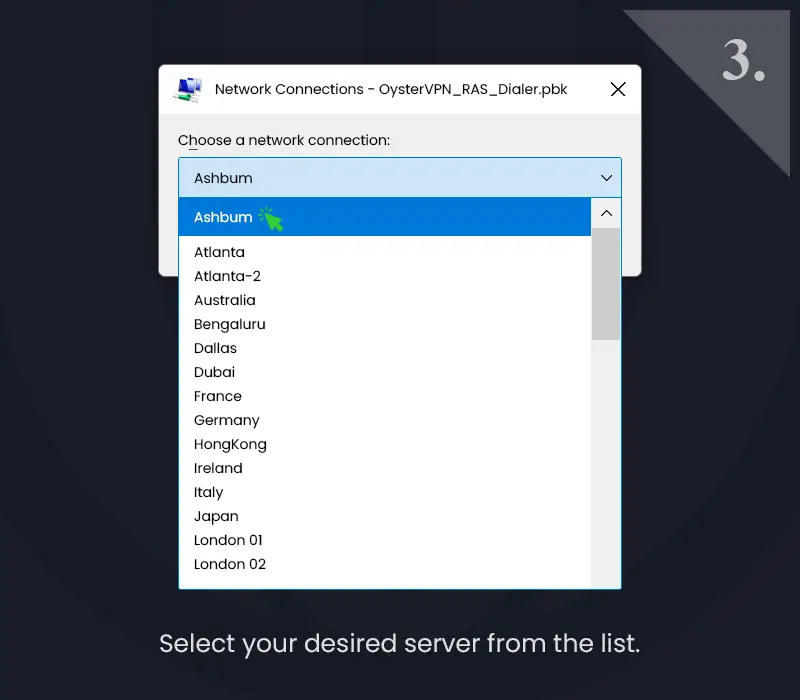
- Choose the server you want. There are options for different locations around the world.
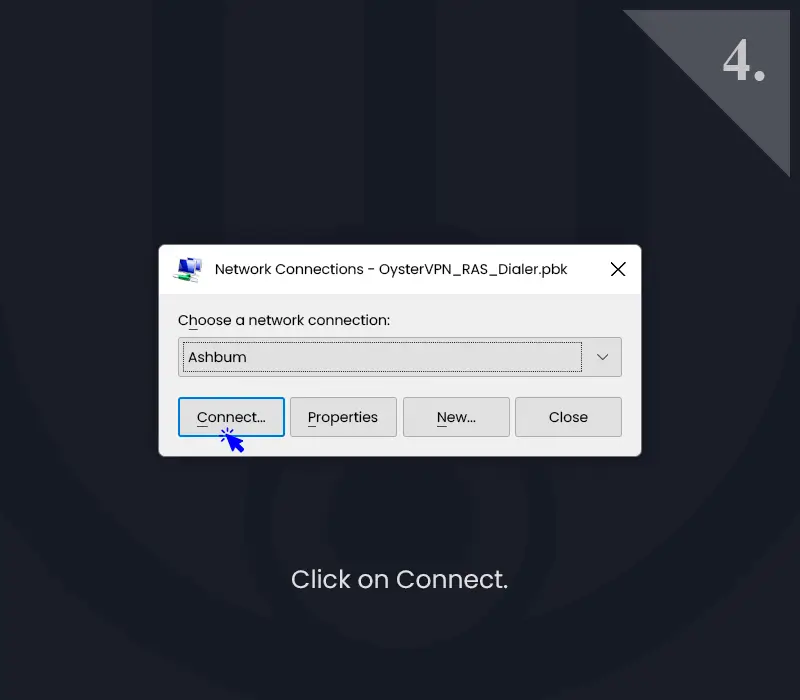
- Click on the “Connect” button.
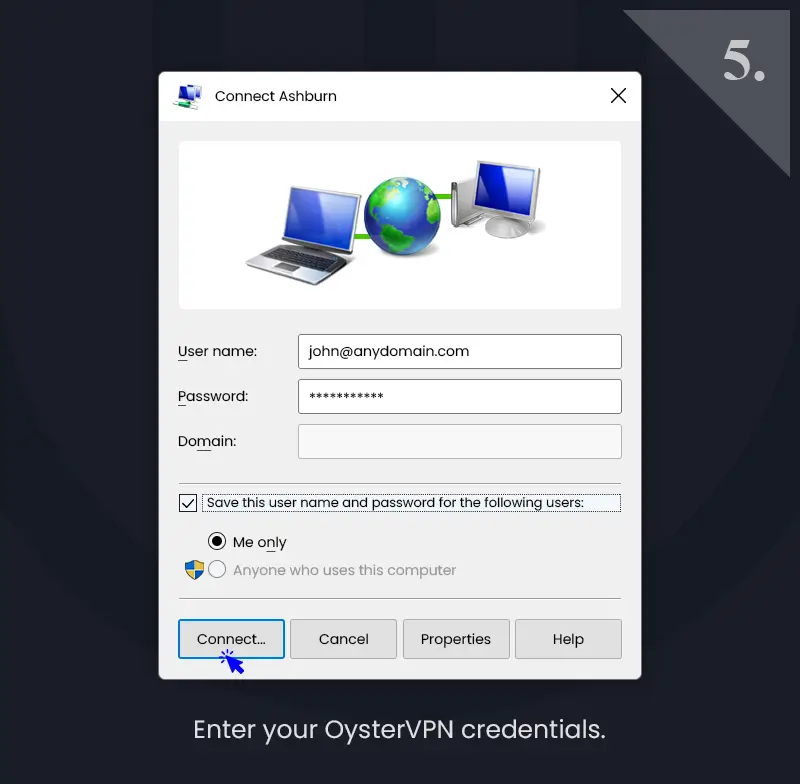
- A new prompt/window will appear. Enter your OysterVPN credentials to proceed. You can also check the box to save your login info for next time.
- Click on “Connect“. The RAS Phonebook prompt will now disappear.
- You are now connected to the server location you chose. If you wish to confirm that your IP has changed, visit What is my IP.
How to Disconnect OysterVPN through the RAS Phonebook
- Double-click on the RAS Phonebook icon to open the dialer prompt/window.
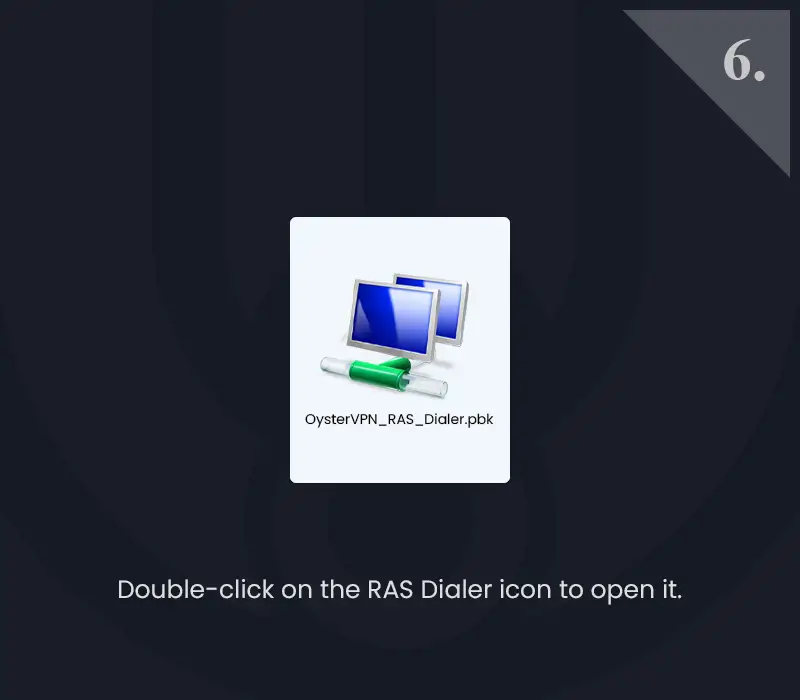
- Click on the “Hang Up” button and you will be disconnected from the VPN.
If you are facing any error in completing the above, below is a troubleshooting guide for RAS Phonebook Errors.
How to Fix Error 87 of the RAS Phonebook Dialer on Windows
When setting up OysterVPN through the RAS Phonebook on Windows, you may encounter the following error:
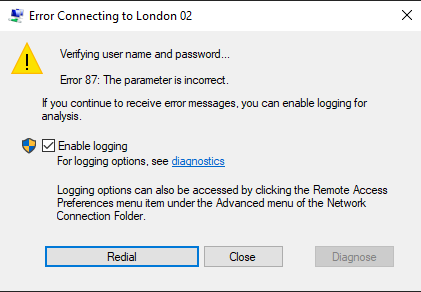
Fortunately, there is an easy fix for this error. Just follow the steps below and you’ll be using OysterVPN through the RAS Phonebook dialer in no time.
How to Fix Error 87 of the RAS Phonebook Dialer to Connect to VPN:
- In the search bar next to the Windows Start button, type “cmd“.
- On the panel to the right, click on “Run as Administrator“.
- A command window will open up.
- Copy and paste the following command.
netsh int ip reset netsh int ipv6 reset netsh winsock reset
- Press Enter. Then restart your computer.
- Once your computer has finished restarting, type “Device Manager” on the search bar next to the Windows logo.
- Click on “Device Manager” in the results.
- Click on the arrow next to “Network Adapters” to expand the list.
- Find the WAN Miniport items (there will be several) and right-click on the first one e.g. WAN Miniport (IKEv2).
- From the menu, click on “Uninstall Device“.
- Follow steps 9-10 for every WAN Miniport item (IKEv2, IP, IPv6, etc) and uninstall them.
- On the top left-hand corner of the window will be the “Action” button. Click on it and choose Scan for Hardware Changes from the menu.
- This will make all the WAN Miniport items reappear. Check to confirm.
- Restart your computer.
- Now connect to OysterVPN using the RAS Phonebook Dialer again. The Error 87 will have been resolved.
For tech support on all troubleshooting issues for OysterVPN, contact our team via Live Chat or Email (support@oystervpn.com).


